MacOS Install Tutorial
This is a tutorial on how to download and set up the software required for CellSeg. This tutorial will cover:
- How to download CellSeg and other required softwares
- How to open terminal and navigate to the CellSeg folder
- How to set up the python (conda) environment that CellSeg will run in
This tutorial assumes no programming experience with Python or terminal. It will provide a step-by-step guide on how to get CellSeg up and running using conda. One of the advantages of CellSeg is it leverages the power of the Python programming language for deep learning while minimizing user programming. Advanced Python users can skip part 2 of this tutorial.
Part 1: Downloading software for CellSeg
To use CellSeg, first install the CellSeg for MacOS here (clicking will download from CellSeg GitHub). Then extract the CellSeg folder to any location. Next, download the weights used for the CellSeg Mask R-CNN network here. These weights require about 250 MB of disk space. Within the CellSeg folder you just extracted, move these weights into the folder CellSeg-master/src/modelFiles.
Miniconda
CellSeg requires a one-time package installation using conda, a Python package manager program contained in miniconda. If you don’t already have miniconda, install miniconda here (clicking will download from conda repo). Miniconda requires approximately 60 MB of space.
Part 2: How to navigate to the CellSeg folder in terminal
The pictures for this tutorial are done in Mac terminal. The commands are identical for Linux terminal. Write down the absolute path to the CellSeg folder you previously downloaded. For example, the path to the CellSeg folder on my computer is: “/Users/jacobbedia/Downloads/CellSeg-master”.
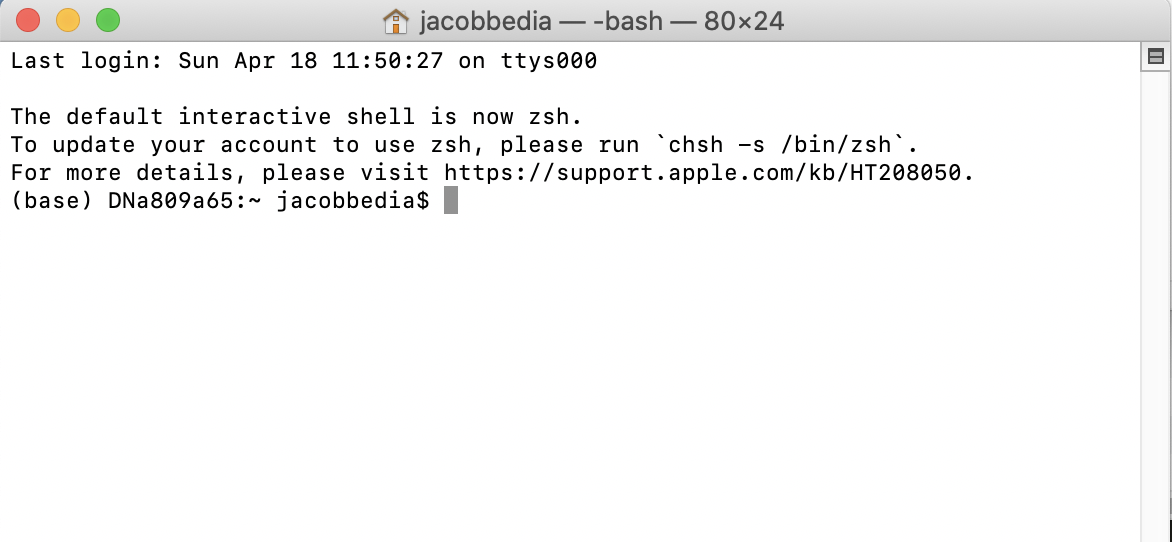
First, we open the terminal:

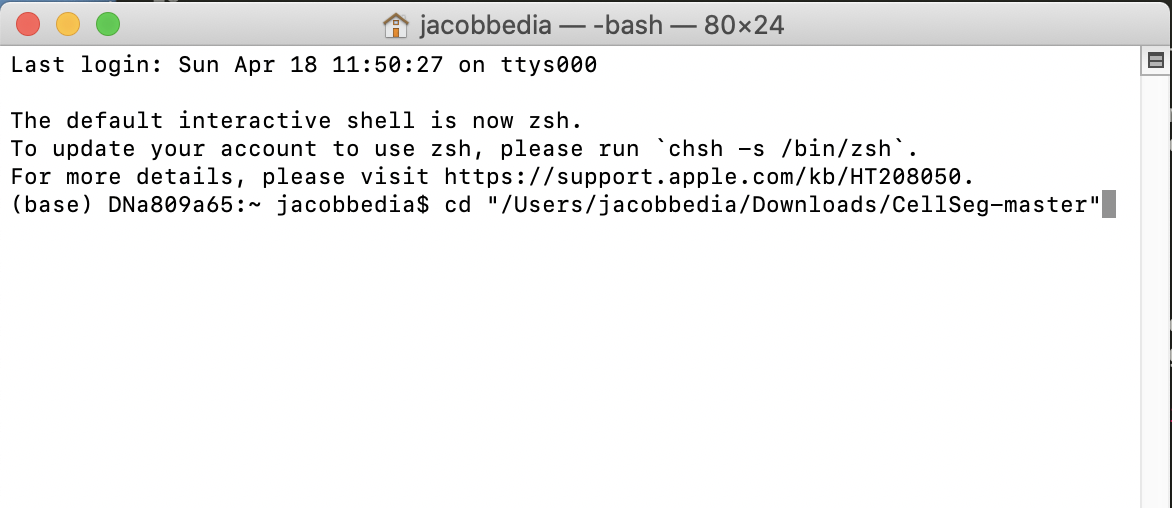
Now, we’re going to use that path to the CellSeg folder you wrote down earlier. We’ll navigate to the folder in one command by typing cd “filepath” where you replace filepath with the path to your CellSeg folder in double quotes. For example, I’m going to type
cd "/Users/jacobbedia/Downloads/CellSeg-master"and press Enter.

Now we are ready to set up CellSeg.
Part 3: How to set up a CellSeg conda environment
The CellSeg program requires several Python packages to run. A naïve approach would be to download all these packages one by one from the internet, but this requires downloading about 40 packages separately, and it leads to extra computer clutter, computer slowdowns, and unnecessary work to organize the packages. A solution that Python programmers have developed is the conda environment. Conda environments allow you to download and install all the necessary packages for a Python program like CellSeg with a single command in terminal, and the Conda environment automatically stores and organizes all packages efficiently.
We will walk through how to create a conda environment for CellSeg. First, we need to check that conda is installed properly on our machine. We do this by typing conda info and hitting Enter. If your output doesn’t look like this, or you get an error, then reinstall conda before continuing.

Now we’ll create the conda environment that CellSeg will run in. The name of our new environment will be cellsegsegmenter and we’ll create this by typing
conda create --name cellsegsegmenter python==3.6
Eventually, you will reach a prompt that says Proceed ([y]/n)?. Hit enter to continue.

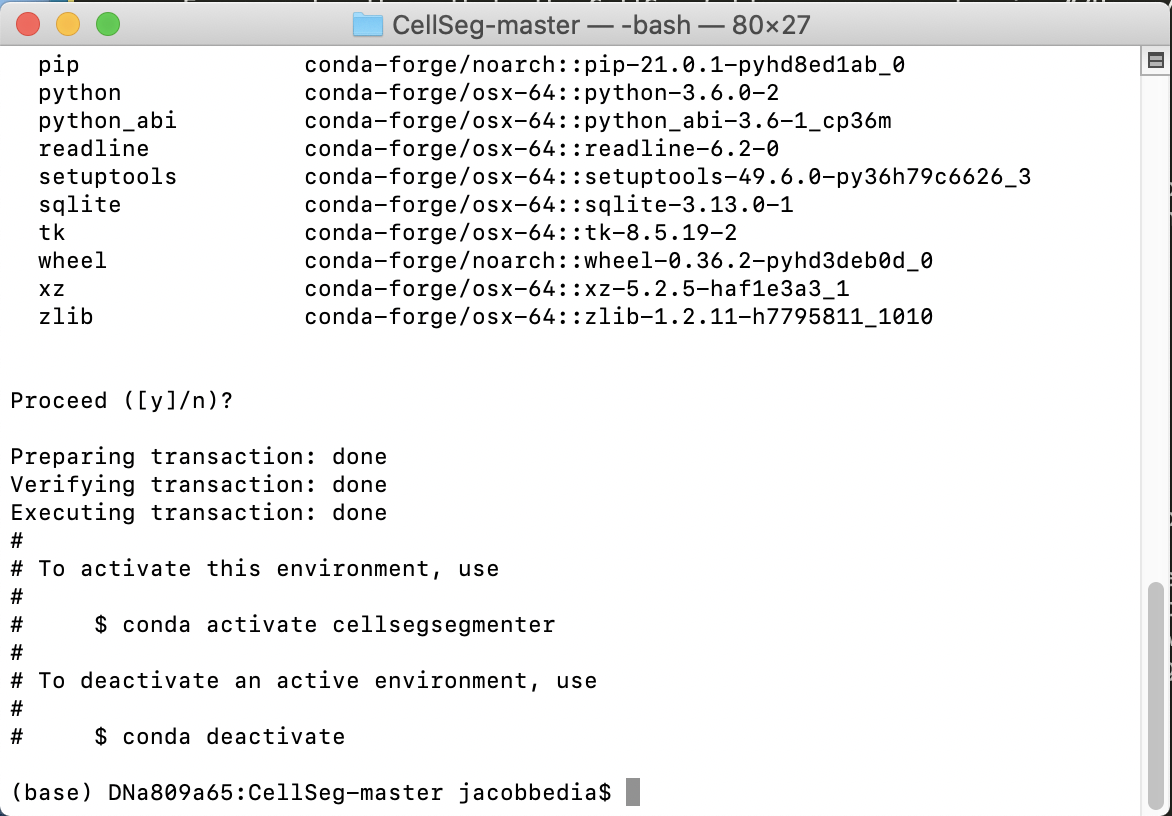
Once you see an output similar to the image below, the environment has been created.

To use a conda environment, you need to activate it by typing conda activate env_name where you replace env_name with your environment name. In my case, I type conda activate cellsegsegmenter.

Notice now that the name of our environment appears in parentheses to the left of the directory path. That means we are now in the active conda environment. Next, we need to install the packages that CellSeg depends on. First, type the following and hit enter
conda config --add channels conda-forge
Next type the following code in terminal and hit enter when prompted by Proceed ([y]/n)?
conda install certifi==2019.6.16
Finally, type the following to install the rest of the packages for CellSeg.
pip install -r requirements.txt
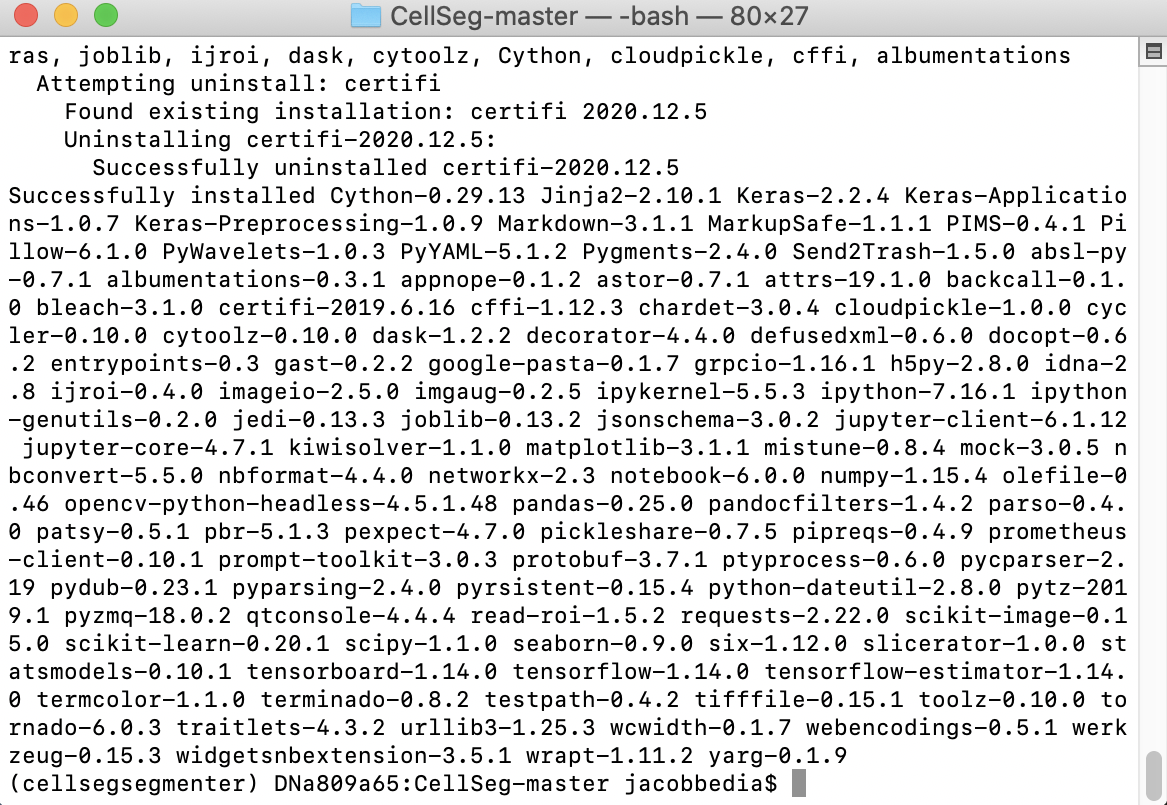
When prompted by Proceed ([y]/n)?, hit enter to continue. You should be able to watch as all the packages required for CellSeg are installed.
